Friday, 30 March 2012

Working with Flash
Below are some screenshots showing my progress when using flash, I worked using frame by frame animation and edited in layers. The below frame shows the world becoming shrouded in greyscale, something I drew out each frame for, rather than tweening.


I used tweening on the hand a animation, making it reach in and grab the gear, before picking it up and leaving. I used motion tweening for this, converting the hand to an object and then slowly changing the position and combining the frames, this allows me to get a very smooth feel to the animation.


For the below, I used yet another tween. This time my object was much longer to allow me to scroll the stars across the screen. I used the sides of the telescope as an 'overlay' for this.

Monday, 19 March 2012
Working with SAI
After, once again establishing what my audience wanted in terms of a video game cover, I began work in Paint tool SAI. This was much the same process as my poster's progression.
I began by creating a new layer and sketching out in blue, (using the pencil tool) the design on my flat plan. I sized the page to the size I would need for a DVD cover and split it in half so that I knew where I was working.


After this had been done, I created yet another layer, this time enlarging the size I was drawing in, and using Pen, for smoother lines. I outlined what I had drawn in neat and then hid the sketch layer.


Next I started colouring, to keep my style relatively similar to that of my poster, I used the marker for colouring, this meant that I could work with the pressure on my tablet pen, to lighten and darken area's of colour, making it very similar to colouring on paper. I created a new layer for every new colour and section.

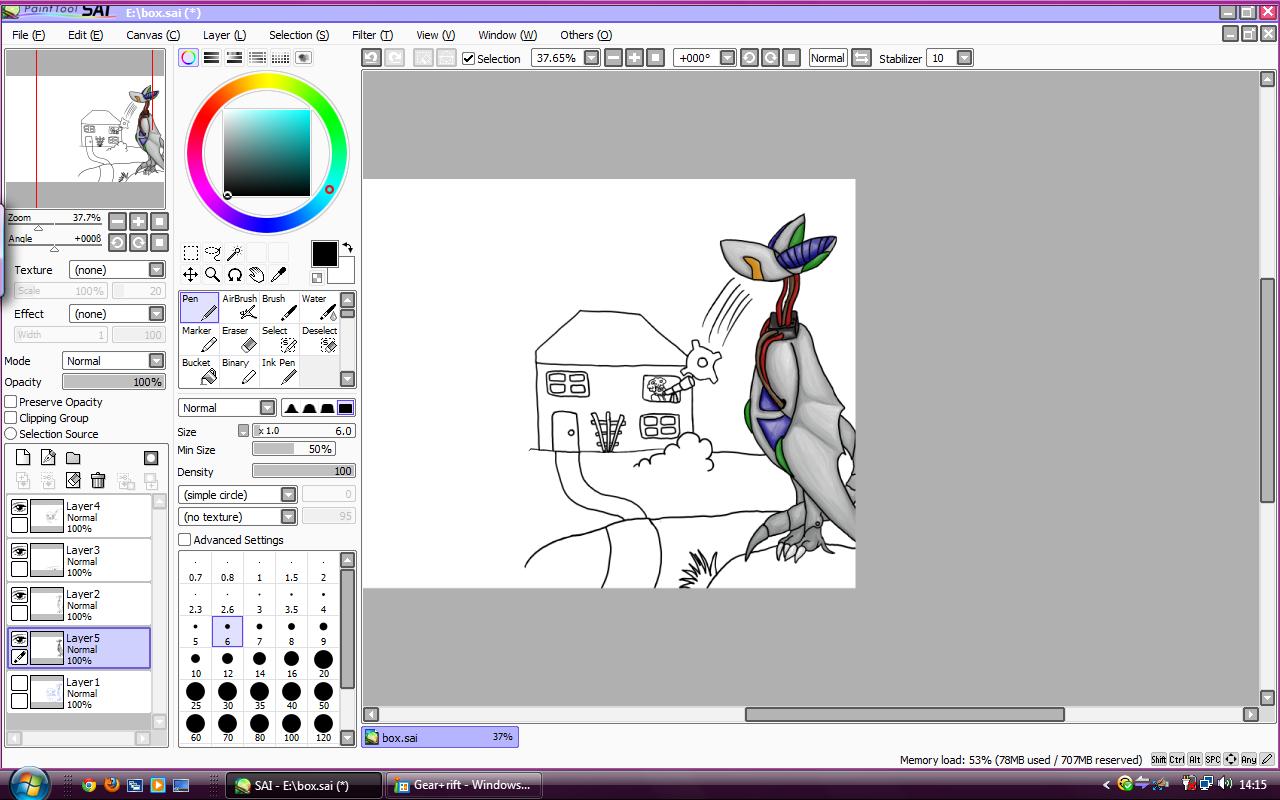
Once Zed900 had been coloured, I began work on the background, this needed to be somewhat built up in order to make my box art interesting, so I worked with shading in the background to add some depth to my picture.


I used the water tool on large to colour in the background a dark blue, using the water tool is more effective due to the fact it does not use harsh lines (As the flood fill bucket tool would) and it is very easy to just rub out bits that have gone over the lineart.

I used the rotate canvas tool to allow me to colour the house in an effective way (so I could colour it horizontally)

The final thing I had to do then, was to draw out and colour the foilage in the bottom left hand corner of the page, this was once again done with the marker and I feel overall, my final DVD box art looks very effective.
Friday, 16 March 2012
Game play trailers and TV spots
Some more style models I have found to help me conform to conventions, when creating my final products.
TV Spots -
TV Spots -
Trailers -
Tuesday, 13 March 2012
Working with Graphics Gale - Spriting
Below are all the sprites I created in Graphics Gale for my game. I made three colour schemes for this, a heat zone, cold zone and a normal ground level zone. The green background can be transparented when imported into Game maker, allowing me to place them on any background. When creating these, I tried to stick as carefully as possible to common conventions of retro platforming games and I feel I achieved this.


Thursday, 8 March 2012
Working with Game Maker
For my second TV spot advertisement, most of this relied on me having a working game that I could screen grab from. I started out this project by having


Wednesday, 7 March 2012
Final Magazine Advertisement
My final magazine advertisement is shown below. I have closely followed conventions for this so it directly appeals to my audience. If I was to feature this advertisement in a real magazine, I think PC Gamer, Retro Gamer or Indie Gamer would be the most suitable and would reach more of my target audience the fastest.

Monday, 5 March 2012


Subscribe to:
Posts (Atom)